Picture Frame: Elegant Table Number Ideas
Picture Frame: Elegant Table Number Ideas is our theme today at Add a Little Dazzle. With weddings and other festivities right around the corner, this is the perfect time to start planning. Whether you are preparing for a casual or elegant event, you can easily take the technique we are teaching you today and incorporate it into your preparations. Join us today as we learn how to create elegant table number ideas using Stampin’ Up! Fabric and Add a Little Dazzle Craft Metal Sheets.
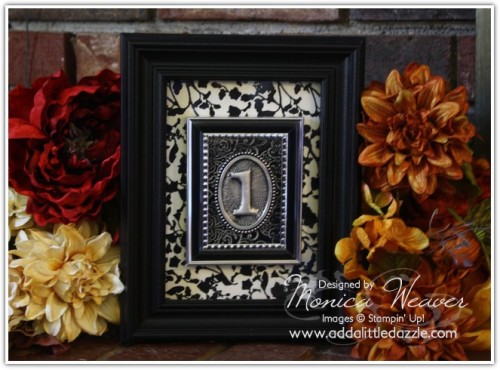
Today I would like to share with you elegant table number ideas for the upcoming wedding season. When I think of a wedding, I love to think of elegant and classy. Personally, I think black and white with a touch of red is a beautiful combination for an elegant wedding. As I was digging through my Stampin’ Up! Fabric, I found the beautiful patterned fabric found in the Timeless Portrait Fabric and knew this was perfect for my elegant table number ideas. When I first thought of this idea, I struggled because I was limited in finding the perfect frame. I live in a small town with limited stores and so I had to work with what I had. After going around the store ten million times I finally knew what I could do to really make the table number piece stand out. I decided to combine a 5″ x 7″ picture frame with a 2 1/2″ x 3 1/2″ picture. The great thing about this project is that you can change the picture frame colors, Stampin’ Up! Fabric, and Add a Little Dazzle Craft Metal Sheets. This project is just a starting point to help you create your perfect table number setting.
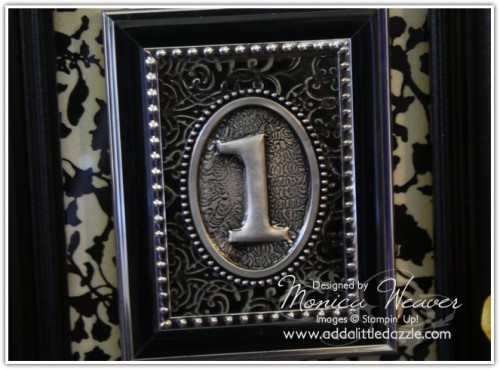
Furthermore, I wanted to create a unique way to display the number and so I embossed the number by hand using a Big Shot Die and create the oval piece using the Designer Frames Impressions Folder. I love that I was able to combine machine embossing and hand embossing to create a unique and personalized look to the number. Once you learn how to create this metal embossed center piece you will get hooked and will want to create many more. If you need more table place settings beyond the number 9, then you will have to use a different Designer Frame. Stay tuned as I will be releasing another version tomorrow. Meanwhile, download your free pdf tutorial, watch the instructional video, and order your Stampin’ Up! and Add a Little Dazzle Craft Metal Sheets and Tools today.
CLICK HERE to purchase Stampin’ Up! product and CLICK HERE to purchase Add a Little Dazzle Craft Metal Sheets and Tools



Hi Monica, this is gorgeous and I Loved the video! However, it never told us how to finish it off and get the #1 attached to the inner frame after it’s done.
So do I have this right… the #1 is just attached (that’s the part it is missing) and therefore the #1 will be the only “exposed” piece that is not under any glass?????
Cynthia
After I was done editing the video I realized I left the part about attaching it off. I added an annotation in the video stating to attach it with hot glue on top of the glass. Sorry for that.
Make sure to order your tools to make this. Tomorrow I will show something a little different with an initial instead.